Wednesday, August 31, 2011

SUNFLOWER


After the 5-petal-flower to add glamour to the bag which I made, I got interested in big flowers and got to find another pattern which I crocheted with different texture and shades of ropes. This is the result. Click here for the free pattern.


I am having one problem with this flower as the petals keep curling up. I have to think of a way to make them stay down. It is not the pattern problem but the nature of the material used. I have yet to put this flower into good use....will update here when that happens :)
5 September 2011

Here's the update.....
Here is how the flower petals curled up.


I decided to decorate a small rottan basket of mine and I think it looks fine on it :) I used a fish line to stitch the petals onto the basket to make them stay flat.


That's how it looks on my small basket :)


Thursday, August 25, 2011

5 PETAL FLOWER

I made this bag from 'jean' frabric. It is of a stiff texture and then I give it a soak and wash 'cause I find my hands stained black after working on it. I broke a needle while sewing the top hem. And I found this big beautiful stuffed flower pattern online. The best thing is it is generously free. Thanks to Craft Passion. It is called 5-petal flower. I tried it out and it is really lovely. You can click here for the pattern sheet (pdf file)

Here is the result.


Before................................After


I made a small flower (2inch) to attached to the zipper.


This 5-petal flower is a stuffed flower and measures 5 inches across.


Close up of the beads stitched onto the flower to add glamour to it.


A brooch pin is attached to the back so it is a detachable flower.
This is a surprise gift for a friend overseas :)


Tuesday, August 23, 2011

GOSPEL WORM


This pattern is from an amigurumi book. I changed the colors and these are the colors used in Kids' EE / H4K to tell the gospel.


I made this for a pastor-friend :)

Saturday, August 20, 2011

Amigurumi Teddy keychain & Snoopy

I am in crochet fever right now and after the flowers, I started to look through the books I have and found this book on crochet soft toys. I tried it out and just fell in love with it. I went online to find more easy and simple patterns and then came to know this is Japanese art of knitting or crocheting small stuffed animals.

Here is two to show off :)

A few young ladies got interested when they saw the crochet flowers I did and wanted to learn and so a crochet class began just last week. I made this as a little "Welcome to Crochet" gift attached to their starter kit.

A Cute Little Teddy


Then my mother loves it when she saw what I have done and requested for a dog, so I found the pattern online and made her a snoopy.


My mum loves it so much and is requesting for another doggie :)

Resources:
Cute Little Teddy

Little Snoopy
http://chibiami.wordpress.com/2008/10/25/lollypup/

Monday, August 1, 2011

CROSS STITCH ON BLOUSE

It's been ages since I last did this and my eyes are definitely not doing a good job anymore....sad. I just had a new pair of glasses made and my longsightedness has increased from 200 to 225. However, I am glad I bought this crafter's magnifying glass from Spotlight-Singapore. It sure helps me to see the small squares of the fabric for such cross stitch work. It took me much longer than I expected....have to face the reality of aging...hehehe. Well, the result isn't as good as I would want it to be and I just have to learn to accept that as the best ability I can do from now for fine work like this.

So here it is...my new blouse.


This is the fabric which I bought many years ago. It is called waste canvas. I got it from Spotlight-Singapore. Just cut out the measurement slightly larger than your pattern requirement and attach it to your blouse/shirt where you want your cross stitch to be done. Just hand sew it on with wide stitches to hold it to your blouse while you cross stitch your pattern.


You can notice the yellowise coloring stain at close-up, which shows it has been kept away for ages :) It is still not a problem though as this waste canvas will be removed after your cross stitch is done. You just have to wet it and pull them out one by one.

I also iron on a piece of thin adhesive fabric to cover the back of the cross stitch I have done to protect it. Always place the right side on a soft towel and iron only on the wrong side. This will make the pattern stands out. You do the same for any embroidery work you may have on your blouses.

I forgot to take pics on the initial steps but I will show more details on the next project.


This is the magnifier for crafters like me.


The pic on the package shows how you wear it round your neck while working.

CROCHET FLOWERS AND HEARTS

I tried out some flowers for Sheerah's card making. At first, I tried out a few with wool but the flowers came out quite bulky and thick. Then I tried working with some cotton threads and I like them better. Sheerah likes them all.

They are so easy to make and can be done in a short time. I was able to crochet 2 pcs on the way to the airport (accompanying Sheerah-off to KL)

Below are some I made for Sheerah's card-buddy, Marlene...all done in few hrs. I wrote out  a few of the patterns for those of you who may be interested. 


Flower A:
Ch 6 to form ring; ch 1; (sc; ch 8;) to make 5 loops; slip stitch to 1st ch
Ch 1; (sc into loop; hdc; 6dc; hdc; sc; )repeat for all the loops; slip stitch to 1st ch


Flower B:
Magic loop; sc 10; slip st; Ch 1; (sc; ch 3; skip 1 stitch;) making 6 small spaces; slip st
Slip st to space; ch 5; treble dc 4; ch5; slip st; in same space; repeat for all the 3 ch space


Flower C:
Magic loop; ch 3; tr 3; ch 3; slip st to loop; repeat to make 5 petals. 
Close magic loop and tie both ends together.

I also tried out few heart patterns which I found online.


Heart A: (click on the heart to go to its origin)
Row 1: Ch 5 to make a ring; ch 3; dc 2; ch 2; (dc 3; ch 2) 3 times; slip stitich along the 3 dc;
Row 2: (Ch 3; dc 2; ch 2; dc 3;) in same 2 ch sp; 
ch 2; (dc 3; ch 2; dc 3;) in same 2 ch sp; repeat another 2 more; slip stitch along the 3 dc;
Row 3: ch 1; (double tr; ch 1) 7 times into next space; slip stitch into next sp: repeat another round; this will make the heart shapes.

Optional: sc all round to finish off.


Heart B: (click on the heart to go to its origin)

Magic loop

Ch 2; tr 3; dc 3; ch; tr; ch; dc 3; tr 3; ch 2; slip stitch to loop

Slip stitch to 1st ch; sc to 2nd ch; dc 2 to next 3 tr stitches; dc to next 3 dc stitches; dc to ch sp; tr 3 to tr stitch; dc to next 3 dc; dc 2 to next 3 tr; sc; slip stitch to last ch; tie


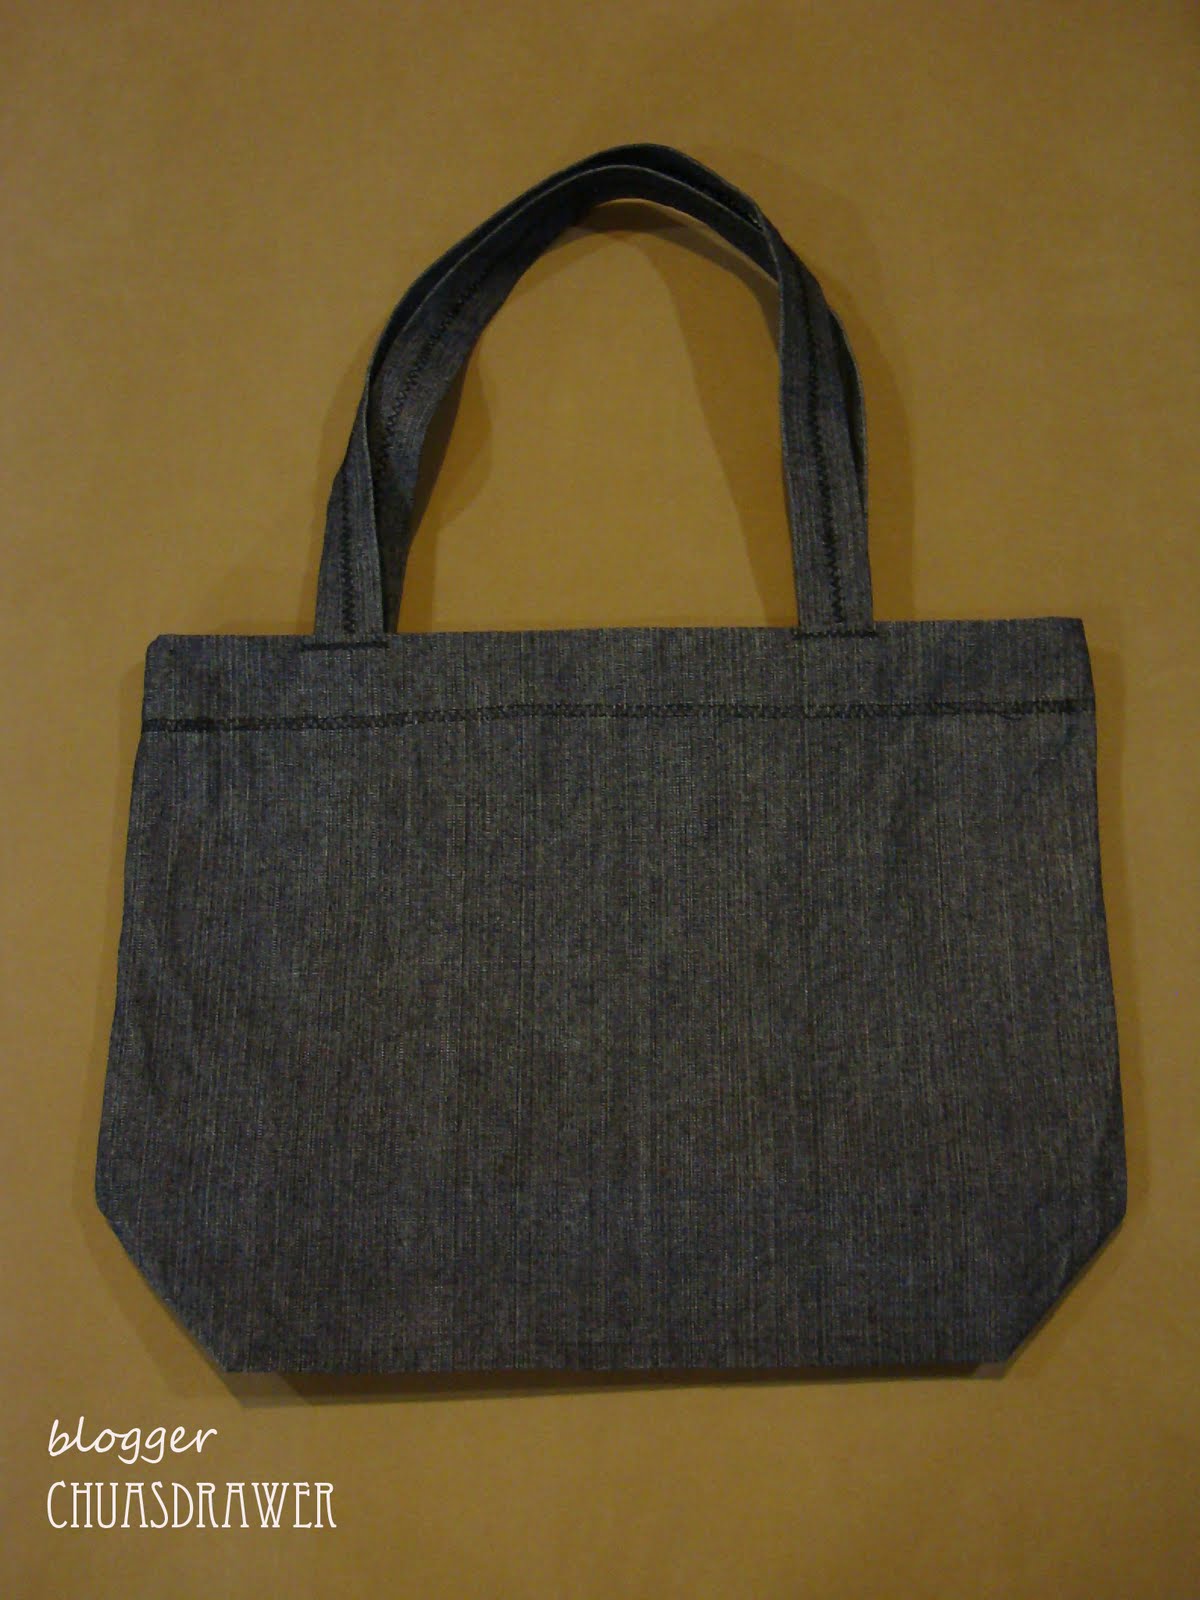
Sheerah was asking if I could make bigger ones. I tried these few with two kinds of rope.  The white ones are made from the same rope I used for the flowers I made for my bag earlier.  The darker ones are made from marina rope (not sure if it has another name) which I bought from Daiso when I was in PJ in June.


Pattern for the above flower:
Row 1: Magic Loop; ch 1; (sc; ch 2; repeat till you have 6(2ch) spaces; slip st to 1st ch.

Row 2: ch 1; sc into the (2ch) space; (ch 5; sc into next space;) repeat all round; slip st to 1st ch

Row 3: slip the ch loop to the back and sc into the back of 1st sc of Row 2; ch 3; sc into back of next sc (between the two 5ch-spaces); slip st

Row 4: ch 1; (hdc; dc 4; hdc;) into (3ch)space all round; slip st to 1st ch; tie


Enjoy your crocheting!